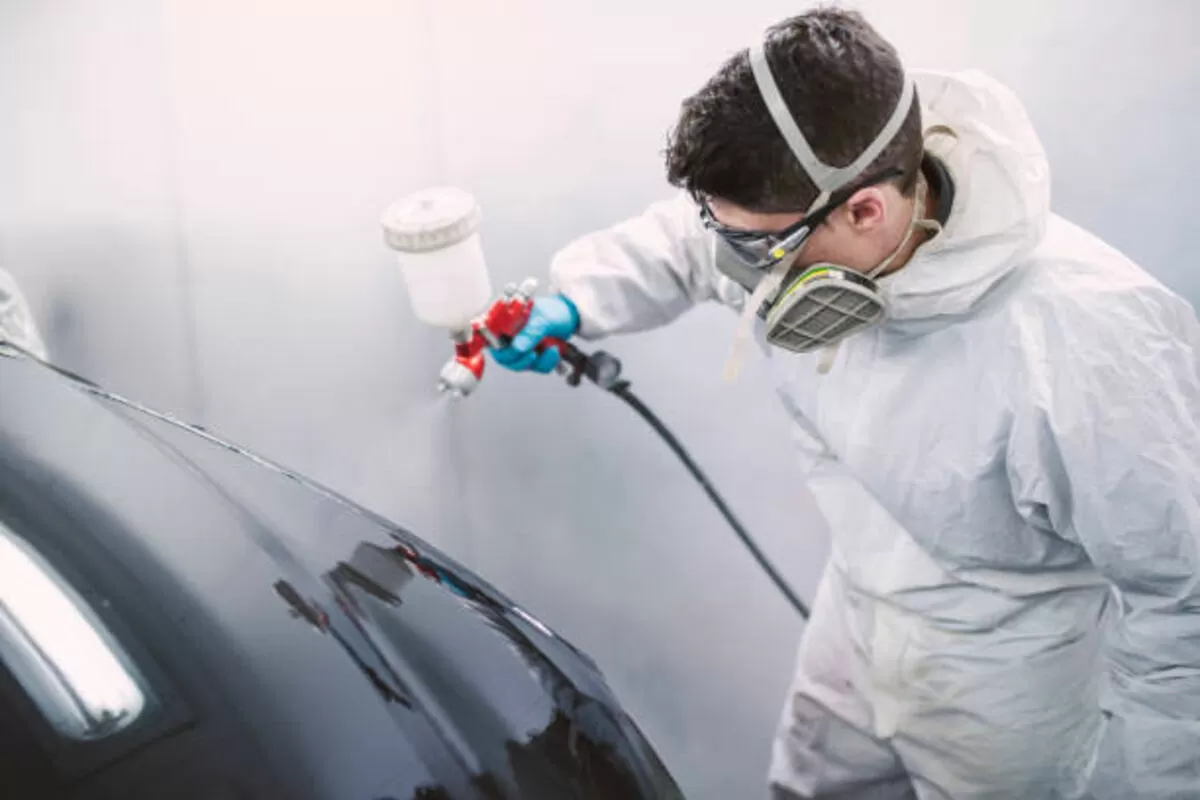

Car ceramic coatings have gained immense popularity for providing long-lasting protection and a glossy finish to a vehicle’s exterior. These advanced coatings create a protective layer that shields paintwork from environmental contaminants, UV rays, and minor scratches. Applying a car ceramic coating might initially seem daunting, but with the proper techniques and preparation, you can achieve professional-grade results. This article will provide SOME essential tips for applying car ceramic coatings like a pro.
Before applying a car ceramic coating, the car’s surface must be free from dirt, dust, and contaminants. Start by giving your vehicle a thorough wash using a high-quality car shampoo. After rinsing, use a clay bar or a synthetic clay mitt to remove any embedded contaminants and provide a smooth surface for the coating to bond to.
A ceramic coating requires a controlled environment to prevent dust and debris from settling on the wet layer. Choose a shaded and dust-free area, preferably indoors, to ensure the best conditions for application. Avoid applying the coating in direct sunlight or windy conditions.
The right tools are crucial for a successful car ceramic coating application. Some essential tools include microfibre towels, foam applicators, masking tape, and isopropyl alcohol. Also, make sure to wear gloves to prevent any oils from your hands from transferring onto the car’s surface.
Different ceramic coating brands can have specific instructions regarding application techniques, curing times, and temperature ranges. Carefully read and follow the manufacturer’s guidelines to achieve optimal results. Straying from these instructions could lead to subpar results or even coating failure.
It’s best to work in small sections when applying car ceramic coating. Apply the coating in a thin, even layer using overlapping strokes. This method ensures uniform coverage and minimizes the chances of streaks or uneven spots.
Once you’ve applied the ceramic coating to a section of the car, allow it to sit for the recommended curing time. Afterward, gently use a clean, high-quality microfibre towel to remove the excess coating. Make sure to use a gentle touch to avoid marring the surface.
Proper lighting is essential to catch any streaks, high spots, or uneven application. Use a bright lighting source to inspect your work as you go. This step will help you identify areas needing additional attention before moving on.
Consider applying multiple coats of car ceramic coating for maximum protection and durability. Make sure you follow the manufacturer’s recommendations for curing times between coats. Layering the coating will create a thicker protective barrier and a deeper gloss.
After applying the final coat, allow the ceramic coating to cure as the manufacturer recommends. Fixing times can vary, but avoiding exposing the car to rain or washing for at least 24-48 hours is typically best.
Hey there! If you're looking to boost your English skills, especially in a business context,…
Hello, fellow vapers and the vape-curious! If you find yourself wandering through the expansive universe…
By John Kaweske Hey there! So, have you ever wondered what Brazil is up to…
Before we dive into the specifics of Amazon4D Gacor Slots, let's take a quick detour…
Organizational casual is the sweet location between professional and tranquil. It allows men to look…
Understanding QQDewa Basics First things first, what's QQDewa all about? Simply put, QQDewa is an…